Building My Cheap DIY Cattle Panel Greenhouse
This is the second year of building a hoop greenhouse from a cattle panel. I took what I learned from last year and improved on it this year. It is only a temporary greenhouse (I said that last year, too! lol) until I get my other greenhouse moved out here from our old house. Because it is temporary, I did not want to spend a lot of money making it, anything I already had I found a way to use!
Last year’s model wasn’t anchored down well, the wind can blow pretty hard at times, the wind blowing the plastic also caused the plastic to wear on the rough edges of the panel. It sat right under my bedroom window, backside against the house, so when the wind blew I could hear it rubbing on the house all night long, even after I put old socks between the panel and the house to stop the rubbing…it protected the house but didn’t stop the noise, I wasn’t going to do that again this year! It was not tall enough, I was always hitting my head in it, and it really wasn’t situated well for the sun, the shelves were always shaded so every morning I had to move everything from the shelves to in front of it and back in at night. It also didn’t get good airflow so it was hard to cool during the day.
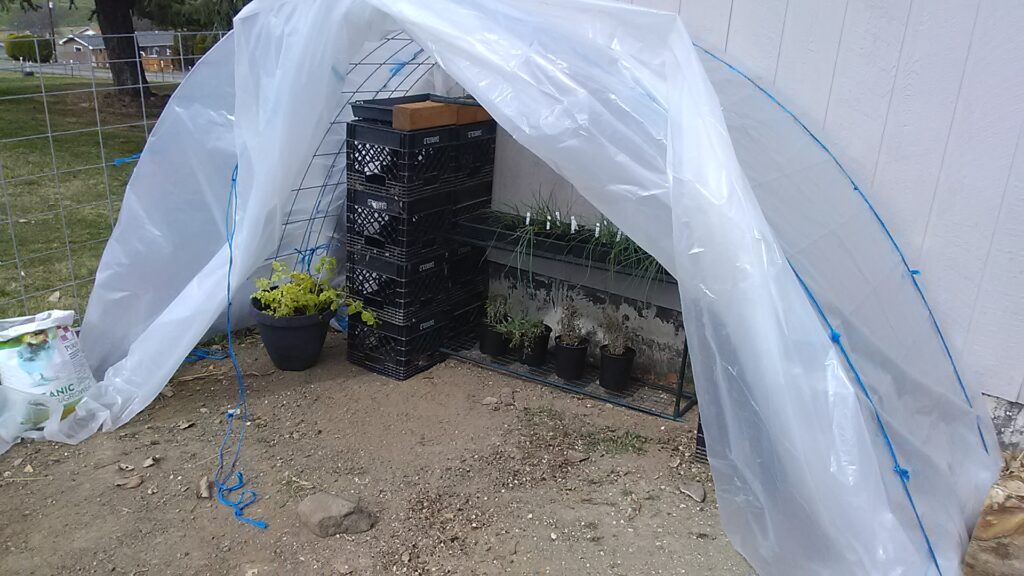
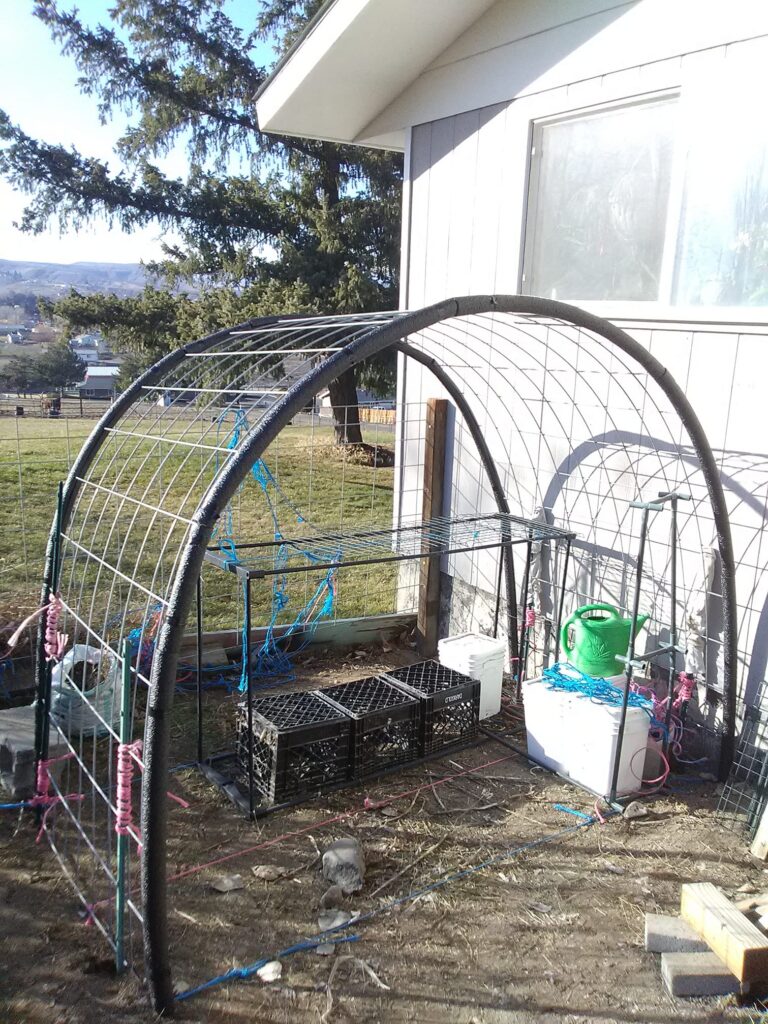
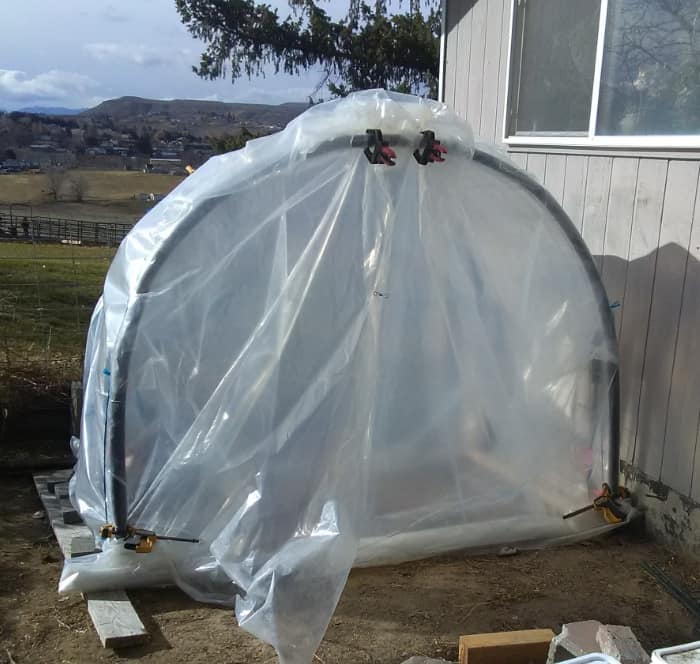
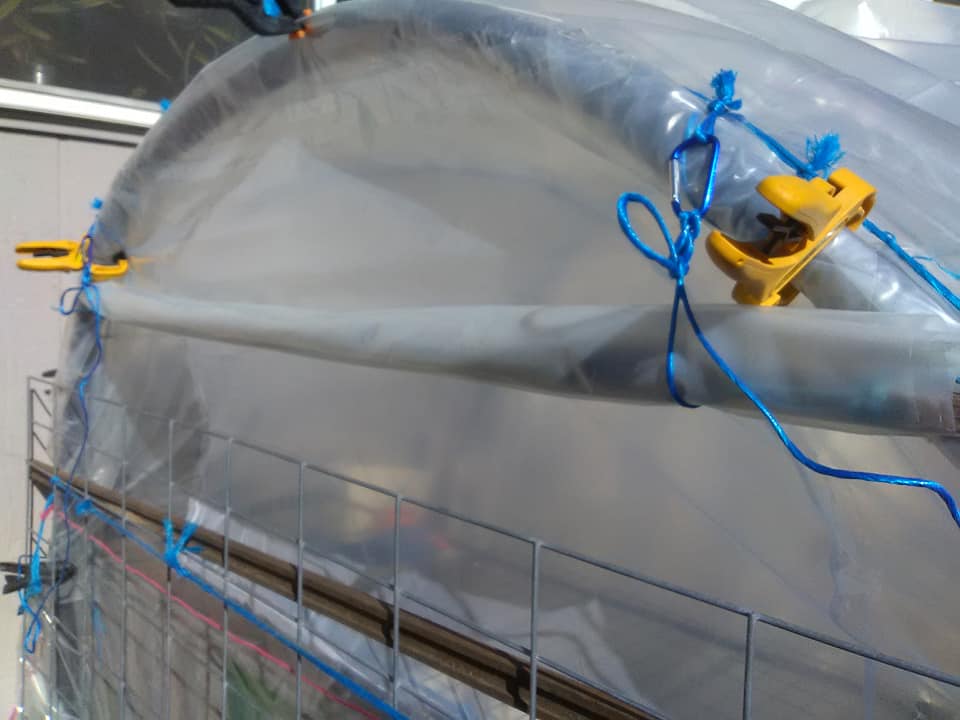
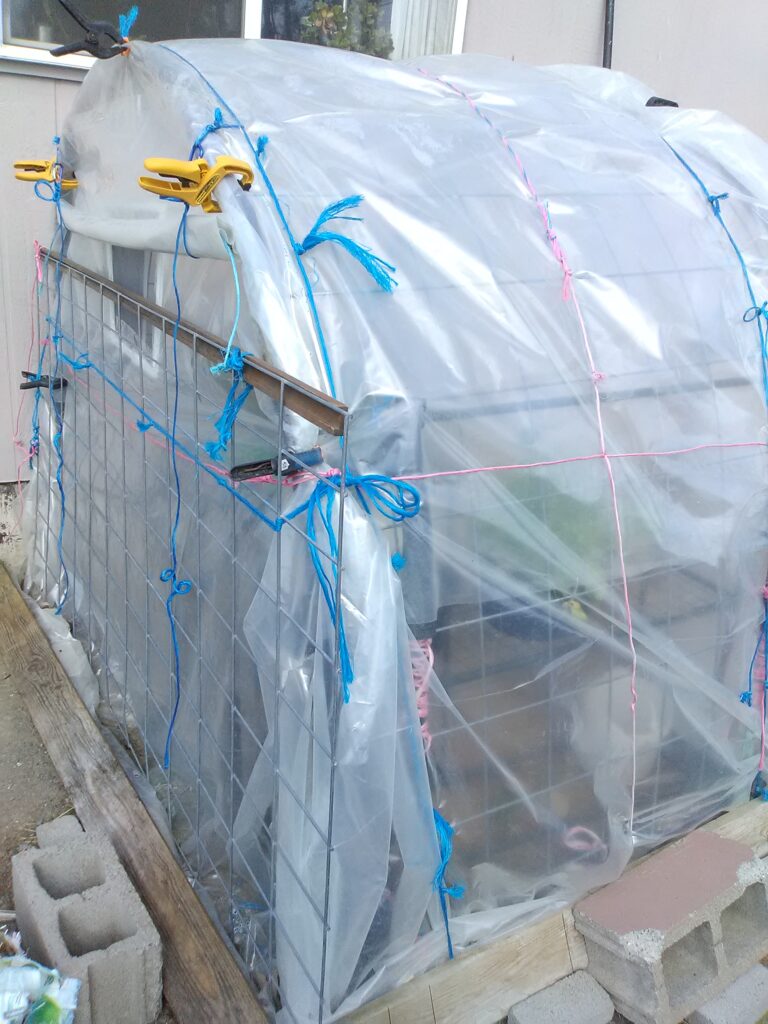
This year I turned it so the arch opened east/west to allow for better airflow and light in the greenhouse. I anchored the corners to t-posts 8 feet apart so it was high enough to walk in and not hit my head, and we covered the edges in pipe insulation, securing it on with electrical tape, to prevent the panel from wearing holes through the plastic. You want to make sure the ribs of the panels faces in when you create the arch so they don’t rub on the plastic. We also covered the t-posts with the insulation. Because of the foam insulation I had to use these large clamps to hold the plastic on, but we already had the insulation so that’s what we used. If I had to buy something I think I would have chosen pvc pipe and cut it lengthwise to fit over the edges of the panel, then used clamps made to fit 1/2″-1″ pvc pipes to hold the plastic on.
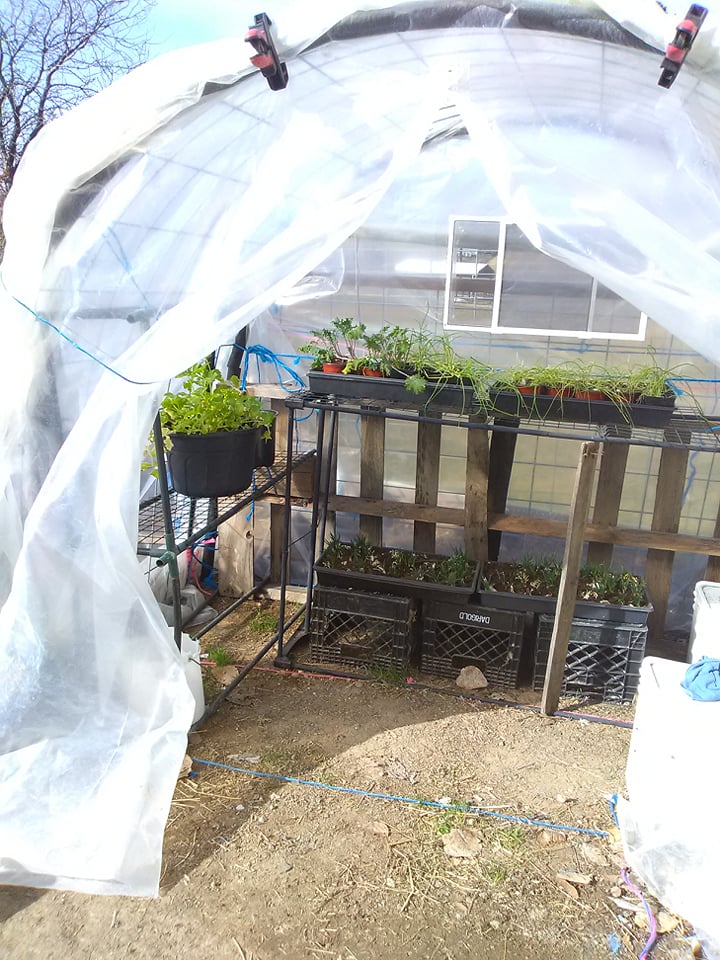
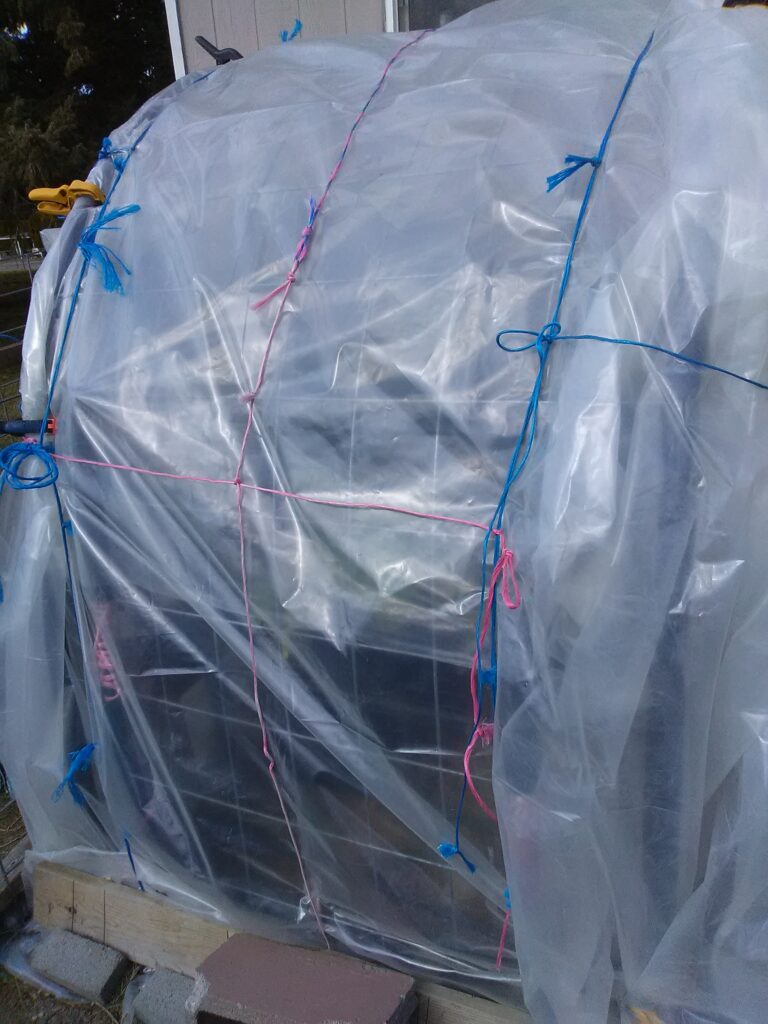
A piece of 16’x20′ greenhouse plastic was plenty for this size of greenhouse, I got mine on Amazon for around $40. Because the wind blows so hard at times I added a partial cattle panel on the outside back and an old pallet on the inside and secured them to the hooped panel using baling twine, it’s worked perfectly to prevent the plastic from billowing in the wind. I also made a window using some of the extra plastic and a stick from the junk wood pile, using gorilla tape to make a pocket for the stick, and using baling twine to hold it up when it’s rolled up. When it’s down it helps block the wind and rain from the inside window. I use baling twine to strap the plastic down over the top and around the sides to prevent it billowing in the wind, that was one trick I learned from last year’s greenhouse. There is greenhouse wind strapping available, but again, I used what I had, and I have a lot of baling twine. It’s not pretty but it does the job!
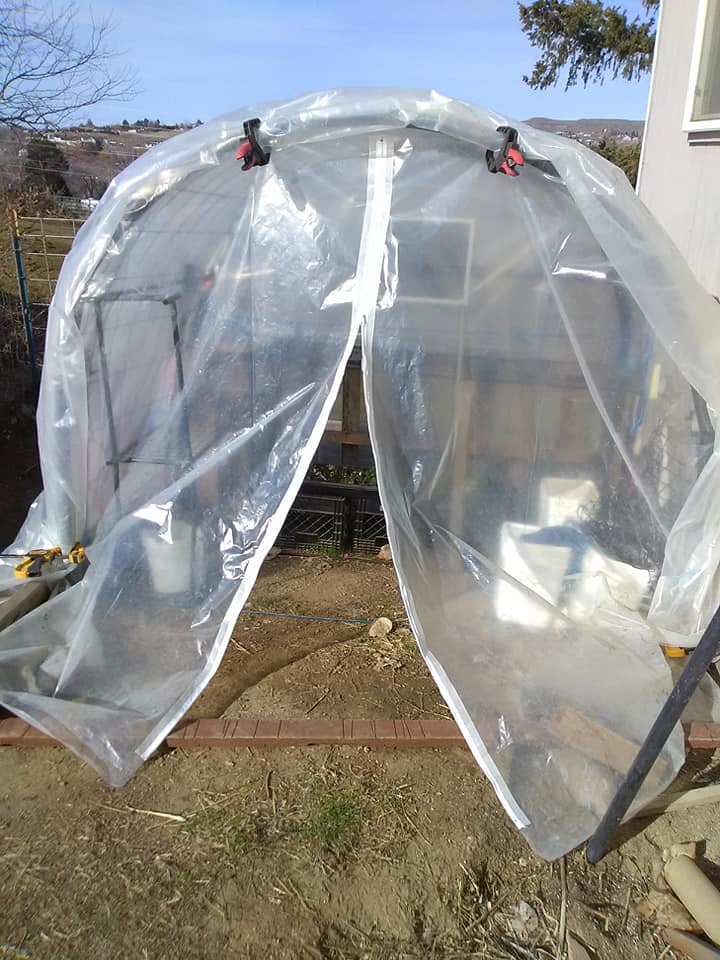
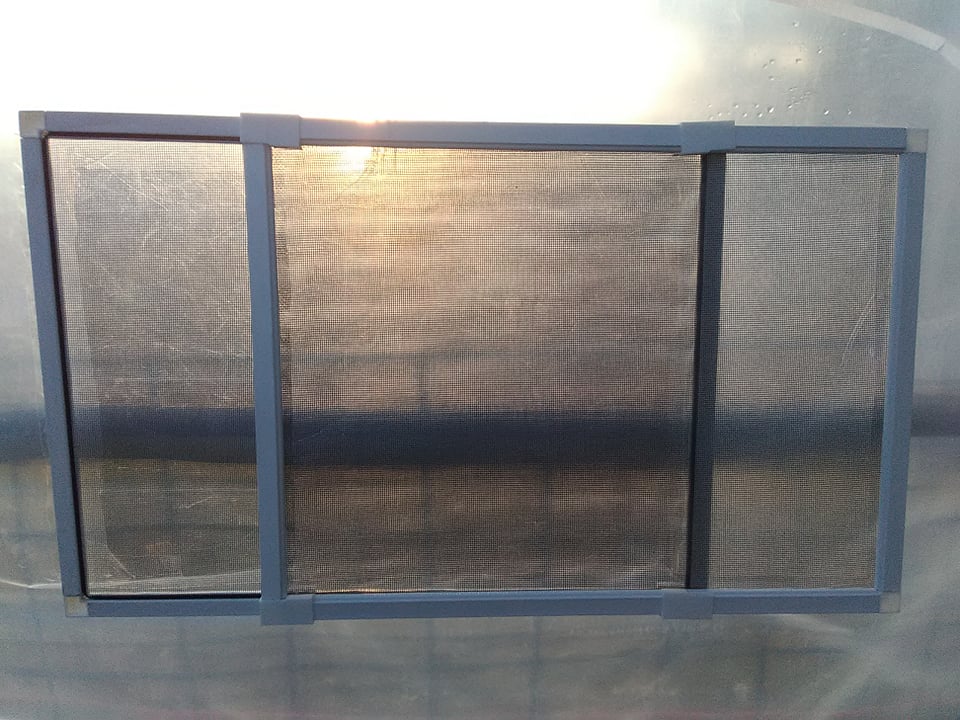
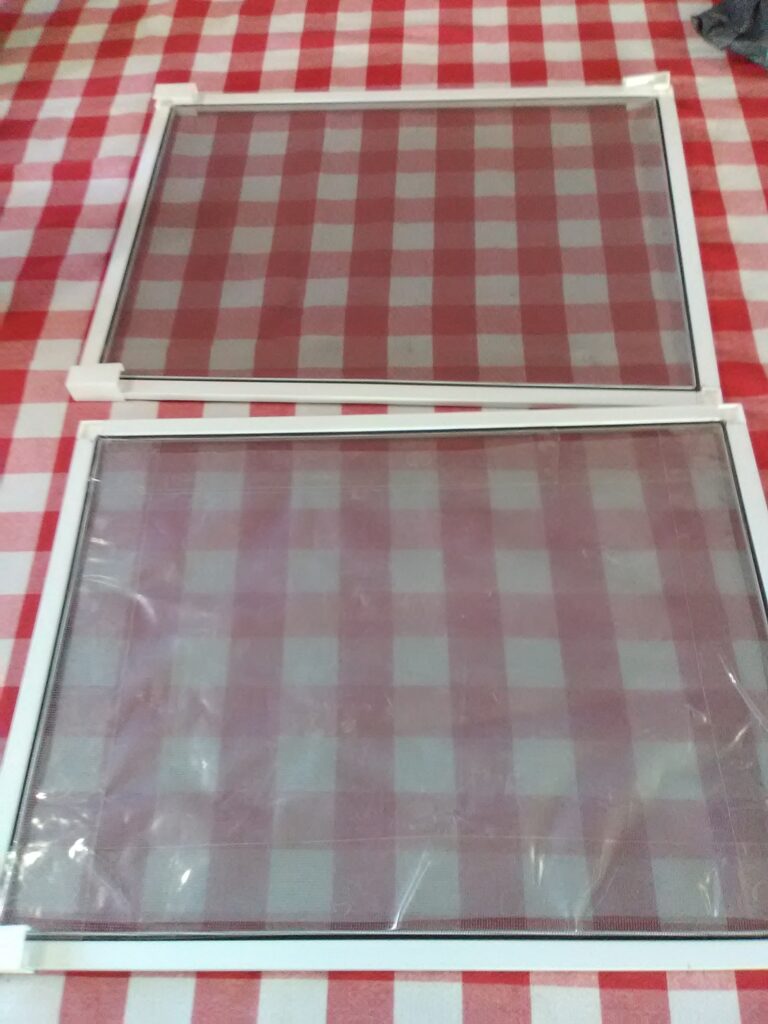
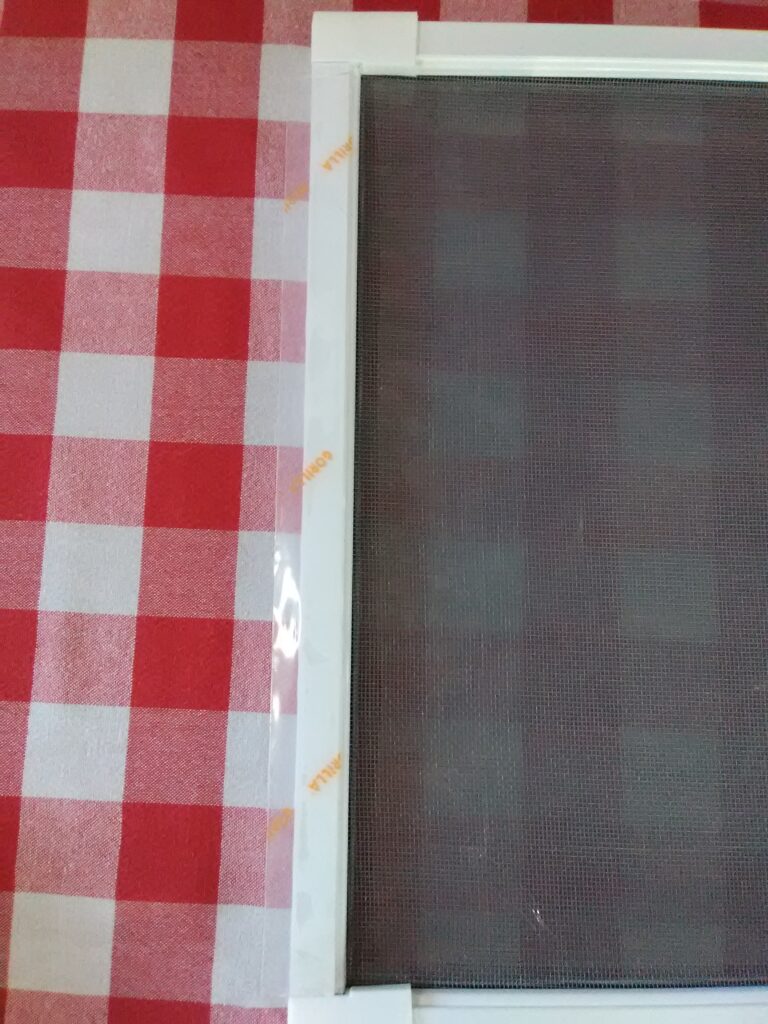
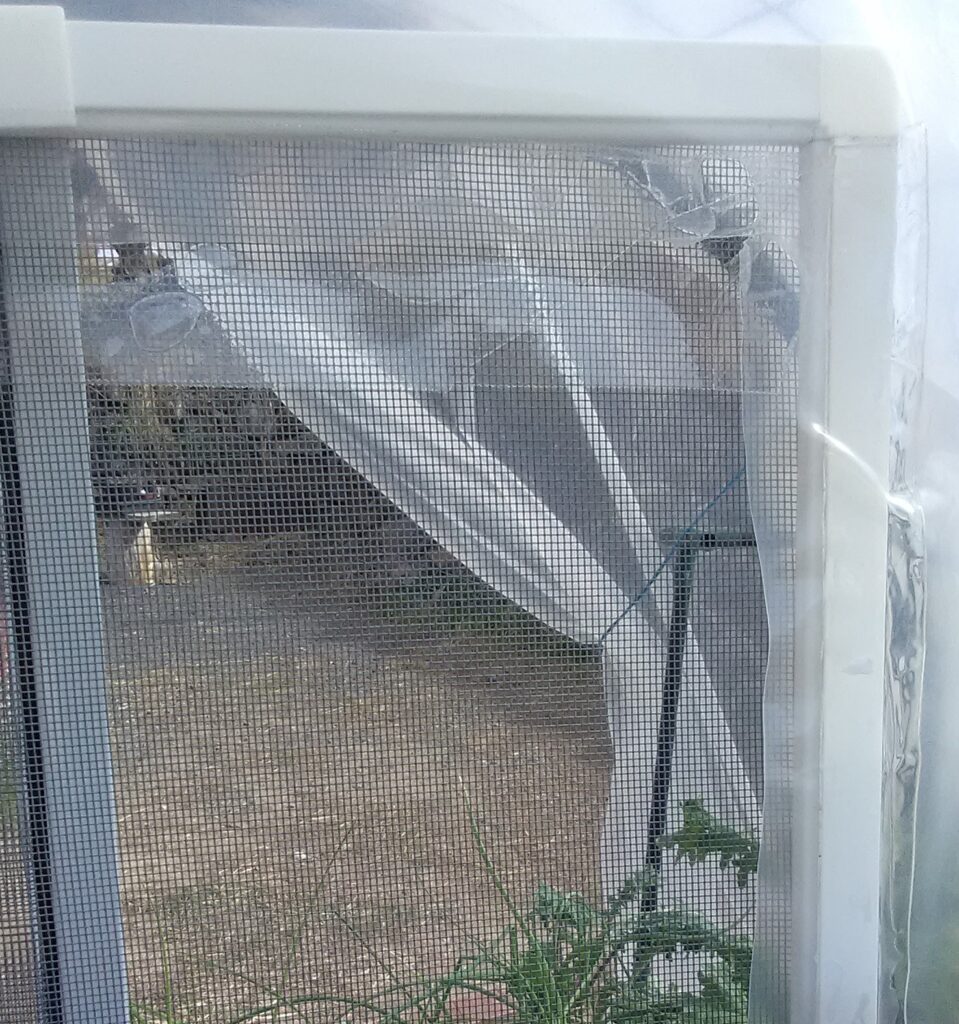
After looking at a lot of different options, I settled on this $8 15″x37″ sliding screen for the window, and this Peel and Stick Tarp Zipper Door for $16. I turned the sliding screen into a window by taping a piece of plastic inside the sliding part of the frame, so I can control airflow by how far I open it, just like any window. I used Gorilla double-sided mounting tape down the sides to attach it to the inside of the back wall, then cut the plastic off from the outside, leaving the top and bottom long enough to attach to the screen using regular Gorilla tape on the top and bottom. This allowed the window to still slide on the top and bottom on the inside but provided an airtight seal on all sides of the window. The zipper door was easy to install and provides easy access as well as airflow and heat control.
In all, I spent about $74 to put together the greenhouse this year. I already had the cattle panels, pipe insulation, pallet, baling twine, and double-sided tape. All I needed was the plastic, regular gorilla tape, screen window and zipper door…and honestly, the door and window are more for convenience, this really could be made without them. 16’x50″ cattle panels cost around $23, and light-duty t-posts are under $6 at a farm supply shop. The beauty of something like this is that you can add as more panels to make a longer greenhouse, and it’s portable. Once I get my other greenhouse moved here I can move this one over one of the garden spaces.
Now, all I need are some new shelves!

